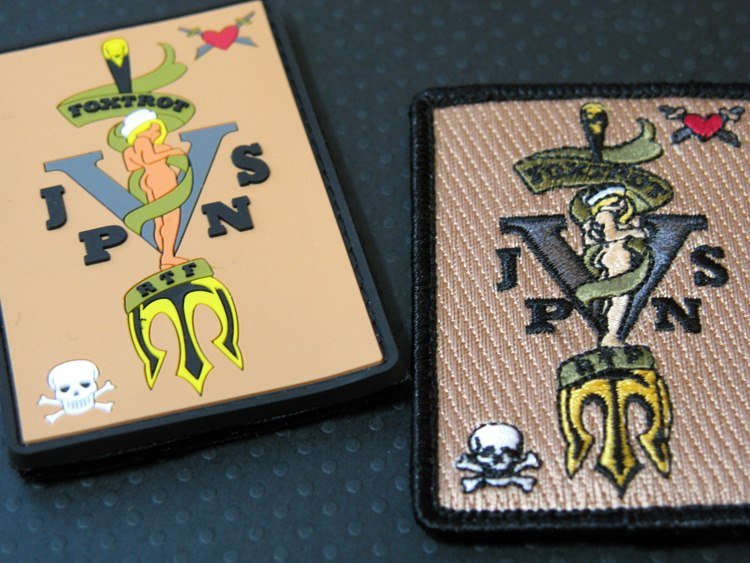
Underlay and density are the backbone of embroidery digitizing. Here’s how we select the right settings for caps, jackets and t-shirts. The best production result comes from matching artwork preparation, file settings and quality control to the final material and machine.
Underlay is the hidden layer that supports the top stitches. It improves coverage, prevents fabric pulling, and keeps edges clean. Density controls how tight stitches are placed.
What a production-ready workflow includes
A professional workflow does more than convert a picture. It checks scale, edge quality, stitch or vector structure, output format and the way the final design will be used. These checks reduce revisions and make the delivered file easier to run.
For caps, we normally use stronger underlay and careful stitch angles because caps are curved and hard surfaces. For t-shirts, we keep density light to avoid stiffness. For jackets, we maintain balance so the design stays bold but not too heavy.
Wrong density can cause issues like thread breaks, bulky embroidery, or gaps. That’s why we use tested density ranges depending on stitch type: satin, fill, or running stitches.
Our aim is always consistent: embroidery that runs smooth and looks premium for online sale orders and customer production.
Information to provide with your order
- Provide final size, fabric type, placement and machine format.
- Share a clear colour reference and identify any tiny text.
- Request a sew-out preview for detailed or high-volume work.
Common mistakes to avoid
- Digitizing without knowing the final physical size.
- Using the same density and underlay on every fabric.
- Ignoring push, pull and cap-sequencing requirements.
Stitchize production note
Always keep a visual reference with the machine or print file. It helps operators confirm size, colours, orientation and the intended final appearance before production begins.
Quality-control checklist
Confirm dimensions, placement, colour sequence, output format and material.
Watch edges, small details, registration, tension, density and thread or print behaviour.
Compare the physical sample with the approved visual and note any changes for repeat orders.
Frequently asked questions
Why does fabric type matter?
Stretch, thickness and surface texture change the underlay, density and compensation needed.
Should I test before production?
Yes. A sample stitch-out is the safest way to confirm quality before a full run.
Send your artwork to Stitchize
Tell us the final size, material and required format. We will recommend the right production approach.