A complete overview of our digitizing workflow: artwork review, underlay, stitch direction, density settings and final testing — made for online orders. The best production result comes from matching artwork preparation, file settings and quality control to the final material and machine.
At Stitchize, we have been working in embroidery digitizing since 2015. Our goal is simple: deliver smooth stitch files that run clean on machines and look premium on real fabric.
What a production-ready workflow includes
A professional workflow does more than convert a picture. It checks scale, edge quality, stitch or vector structure, output format and the way the final design will be used. These checks reduce revisions and make the delivered file easier to run.
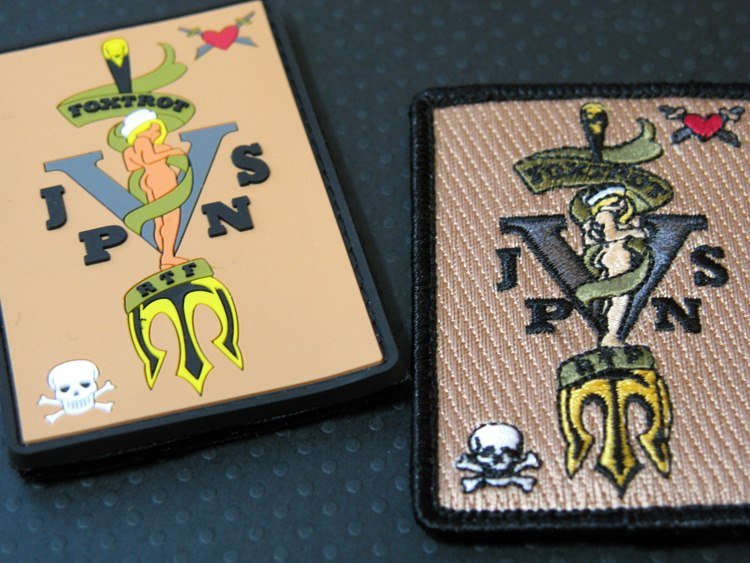
Our digitizing process starts with artwork checking. We examine the logo shape, small text, fine lines, and how the design will behave on different materials. After that, we create a stitch plan using proper stitch directions, smooth curves, and clean corners.
Next step is underlay. Underlay is the foundation that holds stitches in place, especially on caps and thick garments. We select the right underlay type depending on fabric and design density.
Finally, we balance stitch density and trims to avoid thread breaks and bulky results. Every file is checked before delivery so customers can confidently place online orders and get professional embroidery output.
Information to provide with your order
- Provide final size, fabric type, placement and machine format.
- Share a clear colour reference and identify any tiny text.
- Request a sew-out preview for detailed or high-volume work.
Common mistakes to avoid
- Digitizing without knowing the final physical size.
- Using the same density and underlay on every fabric.
- Ignoring push, pull and cap-sequencing requirements.
Stitchize production note
Always keep a visual reference with the machine or print file. It helps operators confirm size, colours, orientation and the intended final appearance before production begins.
Quality-control checklist
Confirm dimensions, placement, colour sequence, output format and material.
Watch edges, small details, registration, tension, density and thread or print behaviour.
Compare the physical sample with the approved visual and note any changes for repeat orders.
Frequently asked questions
Why does fabric type matter?
Stretch, thickness and surface texture change the underlay, density and compensation needed.
Should I test before production?
Yes. A sample stitch-out is the safest way to confirm quality before a full run.
Send your artwork to Stitchize
Tell us the final size, material and required format. We will recommend the right production approach.